✈️ WireGuard VPN Easy with web interface (article is outdated)
Hello, today we will show you how to install WireGuard VPN with a web interface for easy management. We warn you right away that we are not responsible for this software, as it is publicly available. All rights to this software belong to them - https://github.com/wg-easy/wg-easy
Let's begin. First thing we need is to buy a server, we explained how to do this in this article. Order the service without pre-installed scripts. We chose Debian 12 as the OS. The tariff line in this article is DE-RZ, tariff - 1.
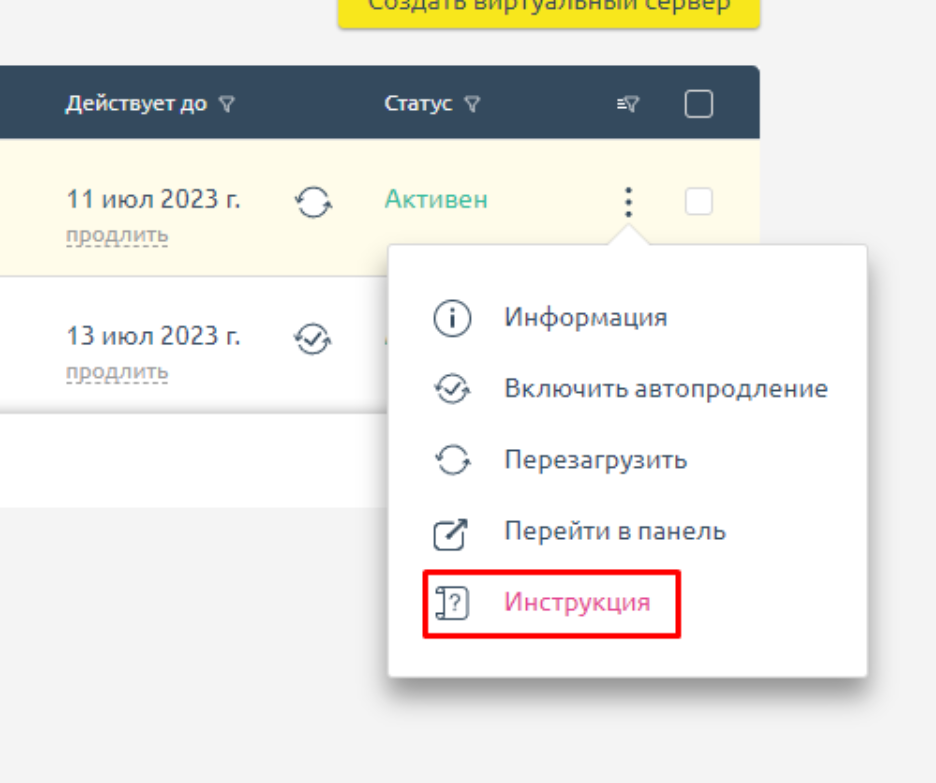
After the server is activated, click on the three dots in the panel, then instruction.
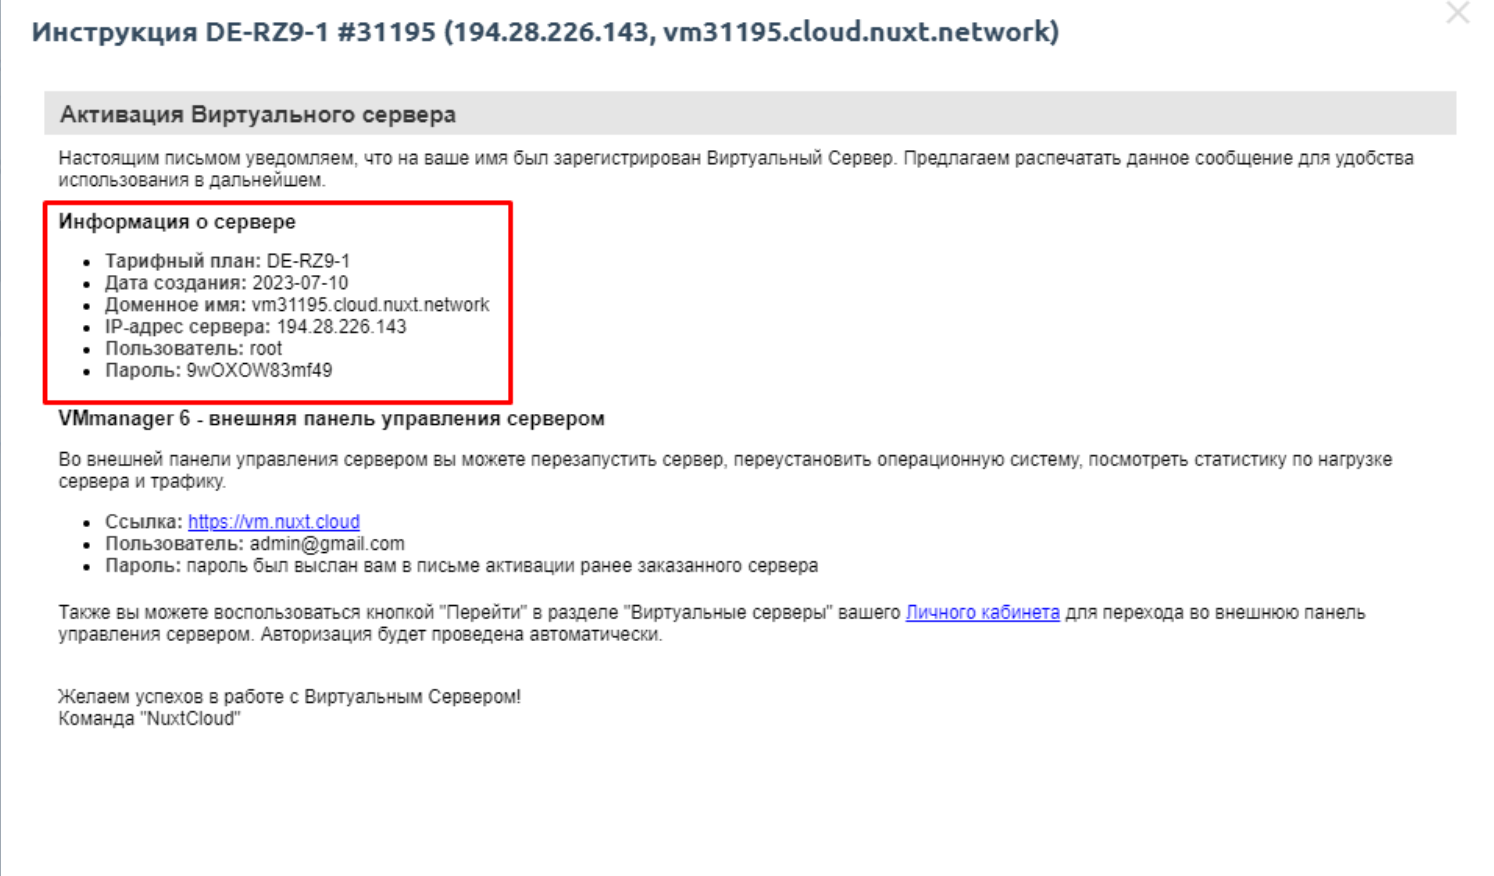
In the instruction we see the server connection details
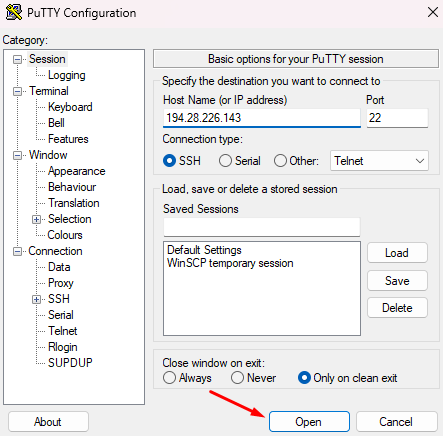
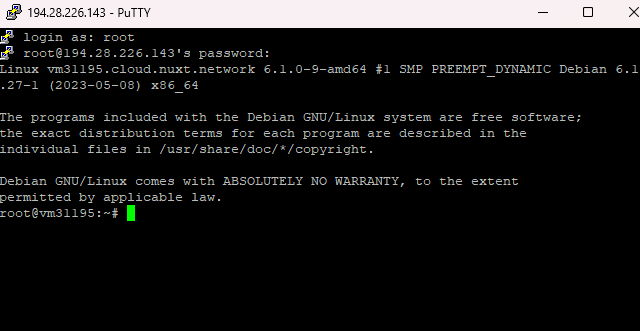
To connect to the server we will use Putty. Launch it.
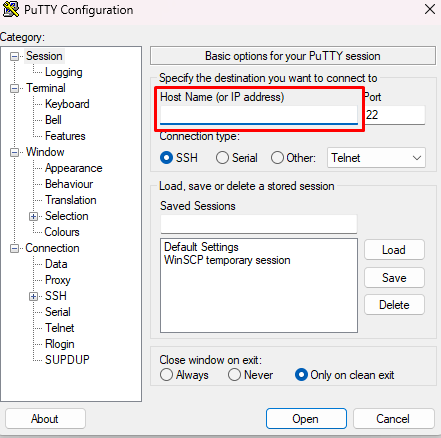
In the Host Name (or ip address) field, enter the server ip from the instruction, in my case 194.28.226.143 and click the Open button. Leave Port and Connection type unchanged.
After opening the session we will see this message
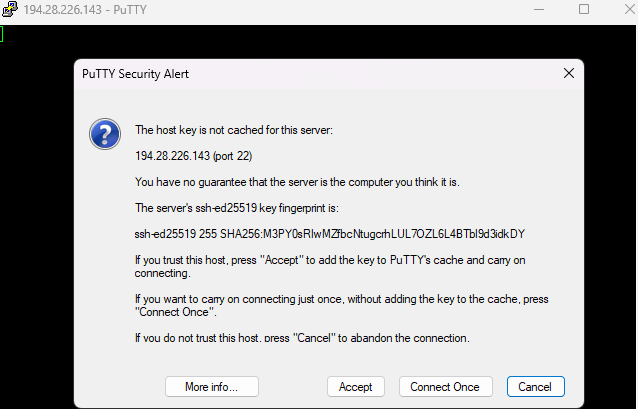
Click Accept. It won't appear again. Next, the server will ask for login.
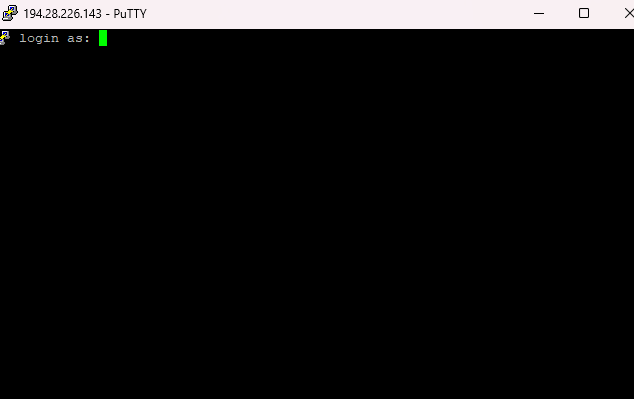
Enter root without dots and spaces. Press Enter.
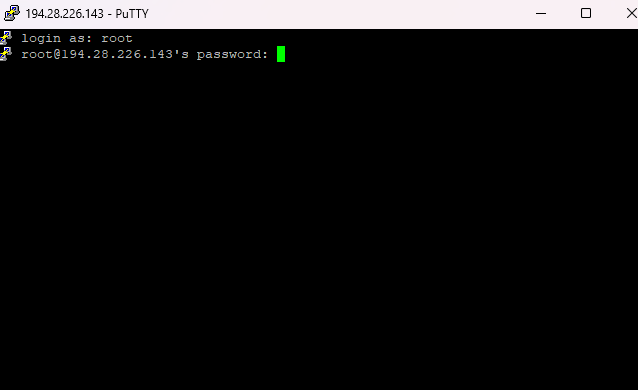
Now the server asks for a password, be careful, when you try to type something - you won't see the password. This is done for security, essentially the password is being typed, but we don't see it. I recommend simply copying the password from the instruction to the clipboard with ctrl + c, then just right-click on our server terminal where it asks for the password and press Enter. Authorization will be successful. In this terminal, right mouse button equals ctrl + v, but you won't be able to use this combination, use the right mouse button instead.
We have successfully authorized, now we need to enter a couple of commands. You can copy them all at once, then they will be executed in order. You can also paste them into the terminal with the right mouse button.
apt update -y && apt upgrade -y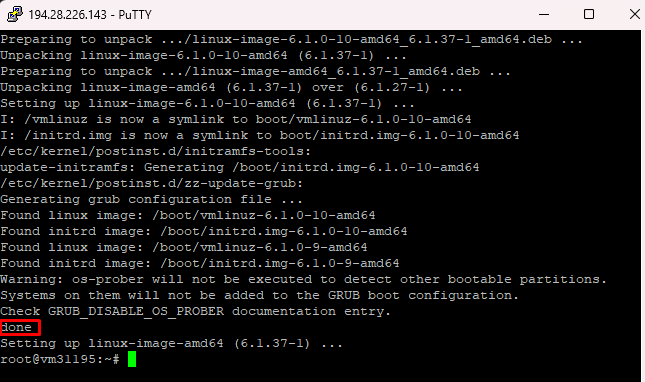
Everything is done, now let's proceed to installing VPN WireGuard Easy.
Next, we won't explain anything, just execute the commands presented below. Paste them all at once.
apt install sudo -y &&
apt install curl -y &&
curl -sSL https://get.docker.com | sh &&
sudo usermod -aG docker $(whoami) &&
exit
Log in again. Execute the commands filling in your data in the indicated places:
docker run -d \
  --name=wg-easy \
  -e WG_HOST=🚨YOUR_SERVER_IP \
  -e PASSWORD=🚨YOUR_ADMIN_PASSWORD \
  -e WG_MTU=1368 \
  -v ~/.wg-easy:/etc/wireguard \
  -p 51820:51820/udp \
  -p 51821:51821/tcp \
  --cap-add=NET_ADMIN \
  --cap-add=SYS_MODULE \
  --sysctl="net.ipv4.conf.all.src_valid_mark=1" \
  --sysctl="net.ipv4.ip_forward=1" \
  --restart unless-stopped \
  weejewel/wg-easy
In my case the command looked like this
docker run -d \
  --name=wg-easy \
  -e WG_HOST=194.28.226.143 \
  -e PASSWORD=9wOXOW83mf49 \
  -e WG_MTU=1368 \
  -v ~/.wg-easy:/etc/wireguard \
  -p 51820:51820/udp \
  -p 51821:51821/tcp \
  --cap-add=NET_ADMIN \
  --cap-add=SYS_MODULE \
  --sysctl="net.ipv4.conf.all.src_valid_mark=1" \
  --sysctl="net.ipv4.ip_forward=1" \
  --restart unless-stopped \
  weejewel/wg-easy
After executing the command, go to the browser at YOURIP:51821
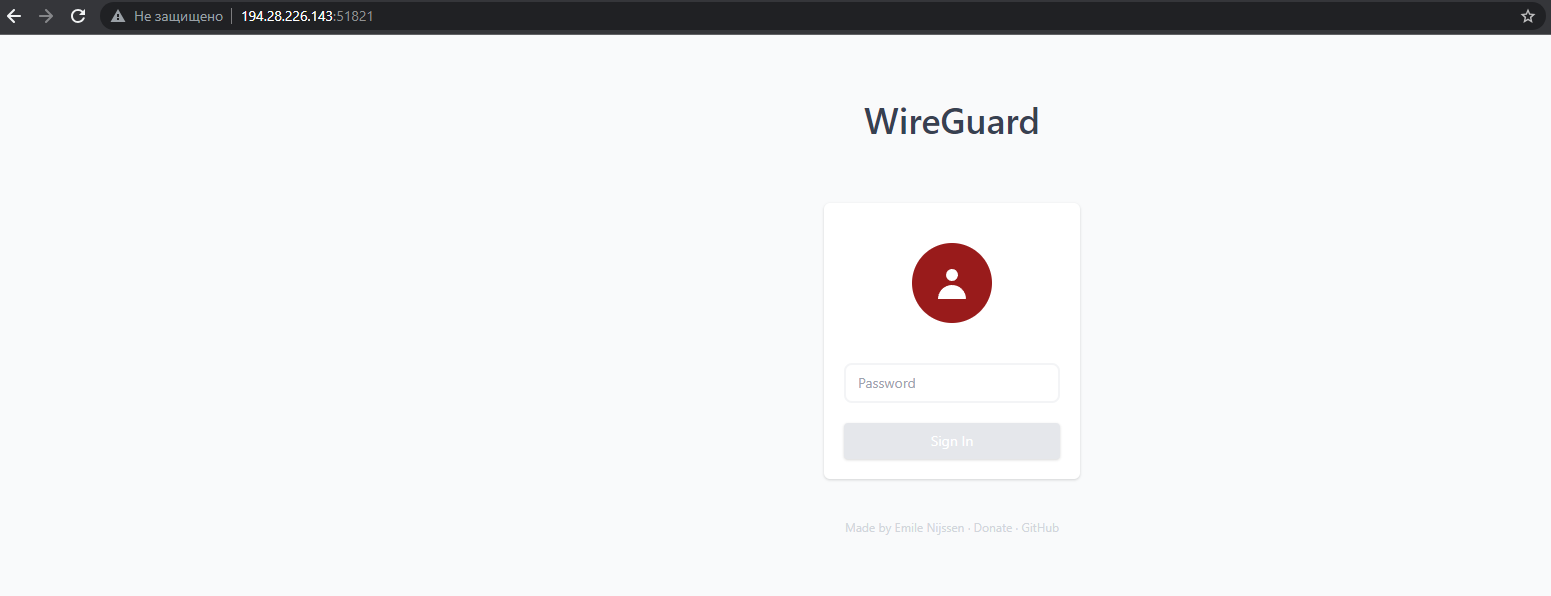
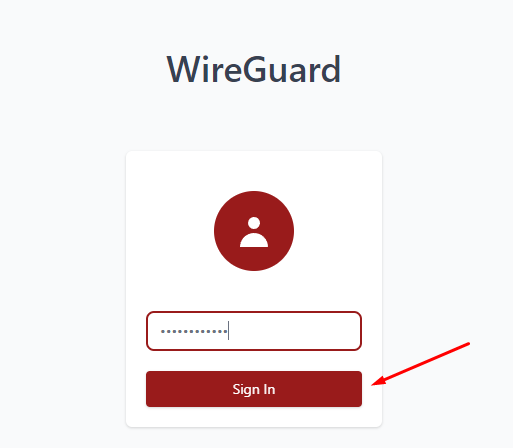
We did it! Enter the root server password and click Sign in.
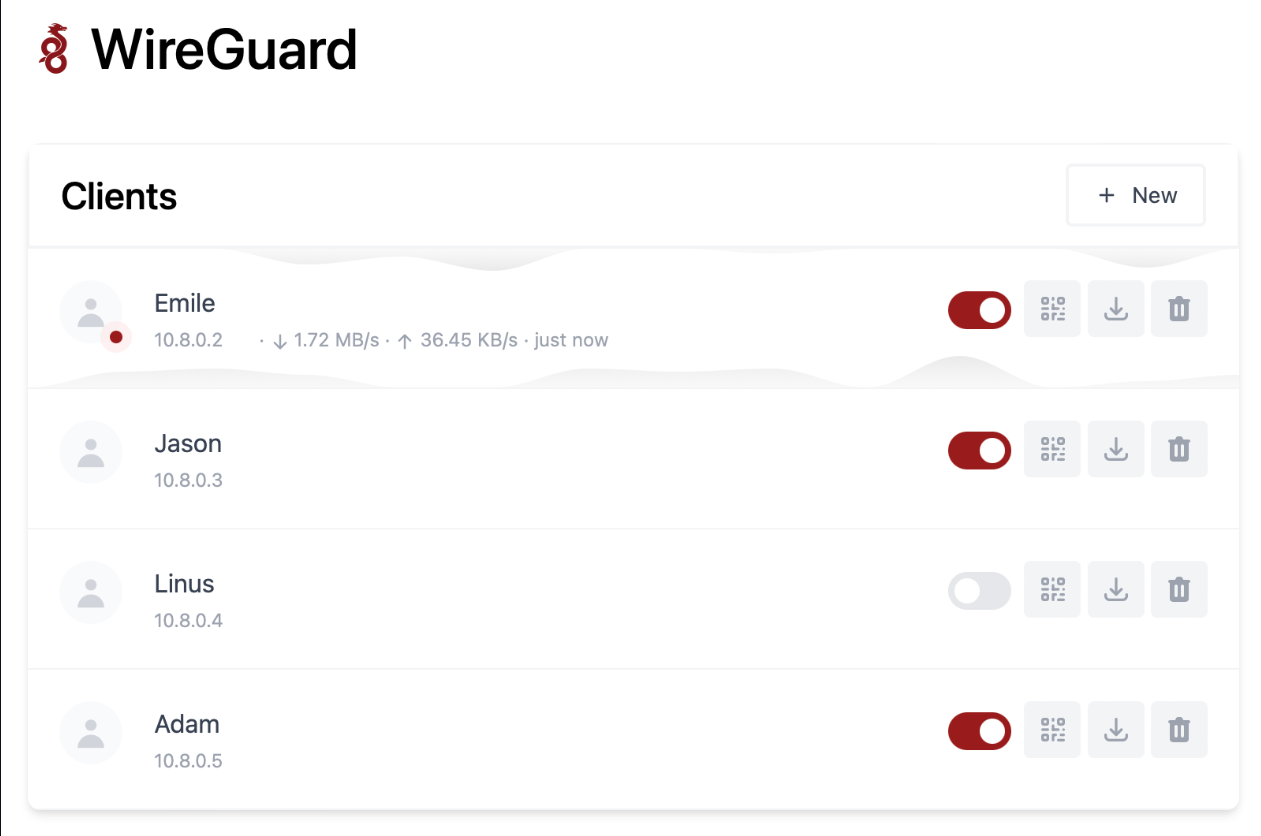
We see the following:
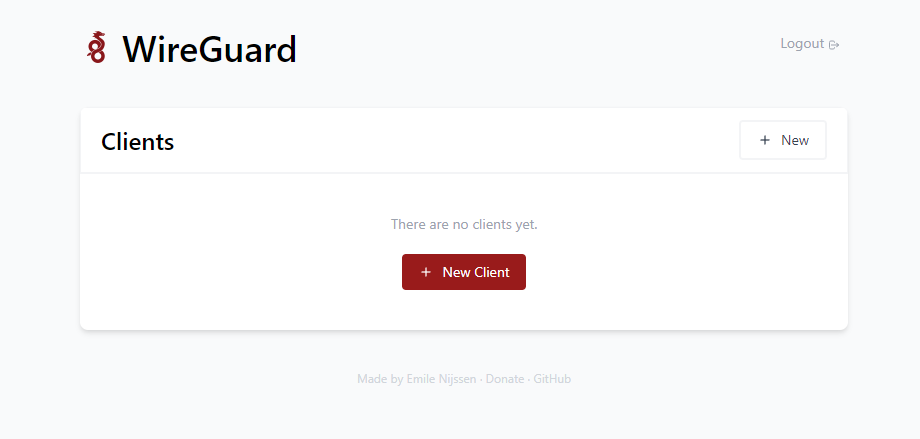
Click on + New Client
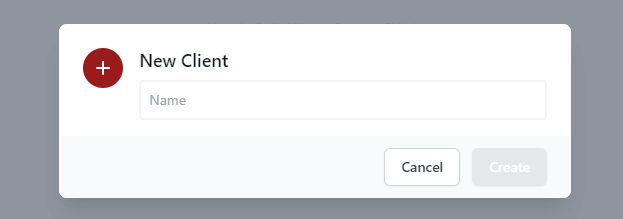
In this window, write the name of your VPN configuration. I'll write test. Click Create.
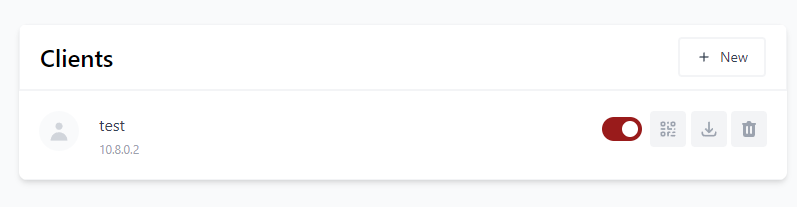
Done, the client is created. You can disable it, scan the QR to install the configuration on your phone, download the configuration file, or delete it.
Let's test it. Download and add the configuration to WireGuard.
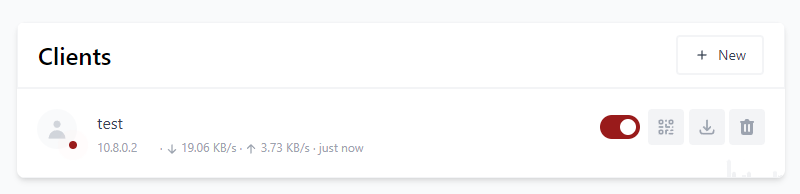
We see that everything works, and since I'm continuing to write this article, it means everything is great!
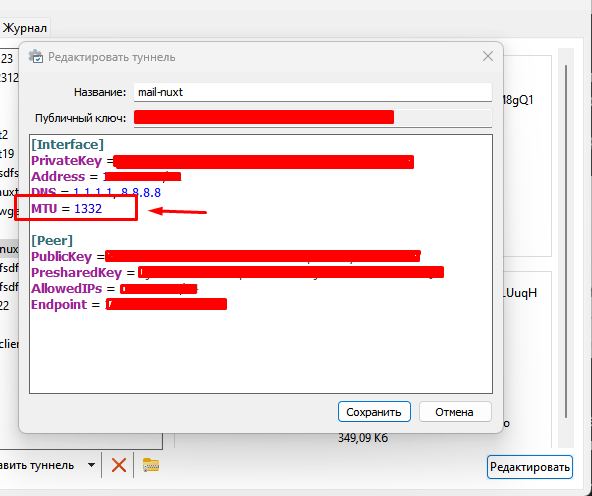
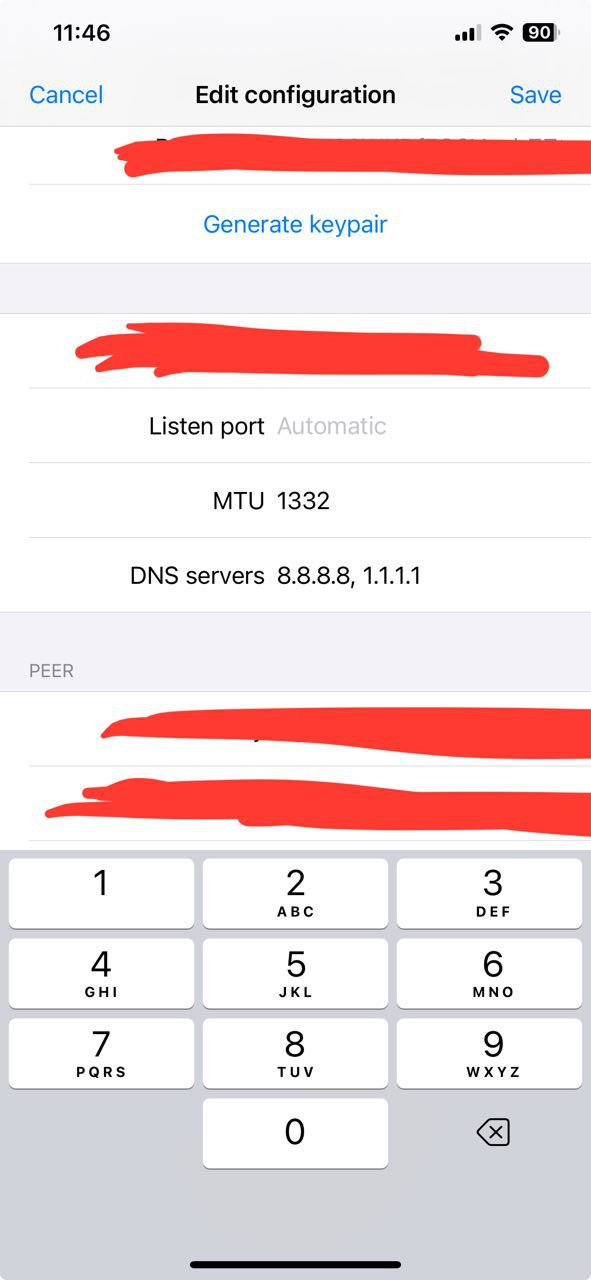
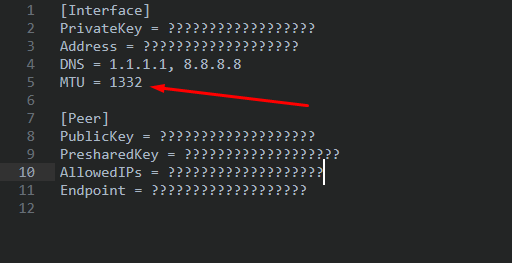
If for some reason the connection is unstable or the speed is low, open your configuration file with an editor or in wireguard itself and set the mtu value to 1332
That's all, good luck!
NuxtCloud Team.